Friday, August 13, 2010

Flash 4 or Flash 6?

I have spent the last week trying to fix something that wasn't broken in the first place.

This is why I don't trust electricity; if you have a non-functioning pop bumper, you can usually figure out the problem just by looking at it, or by using some really simple testing equipment. Not so with circuit boards, at least not the variety used to build Flash.

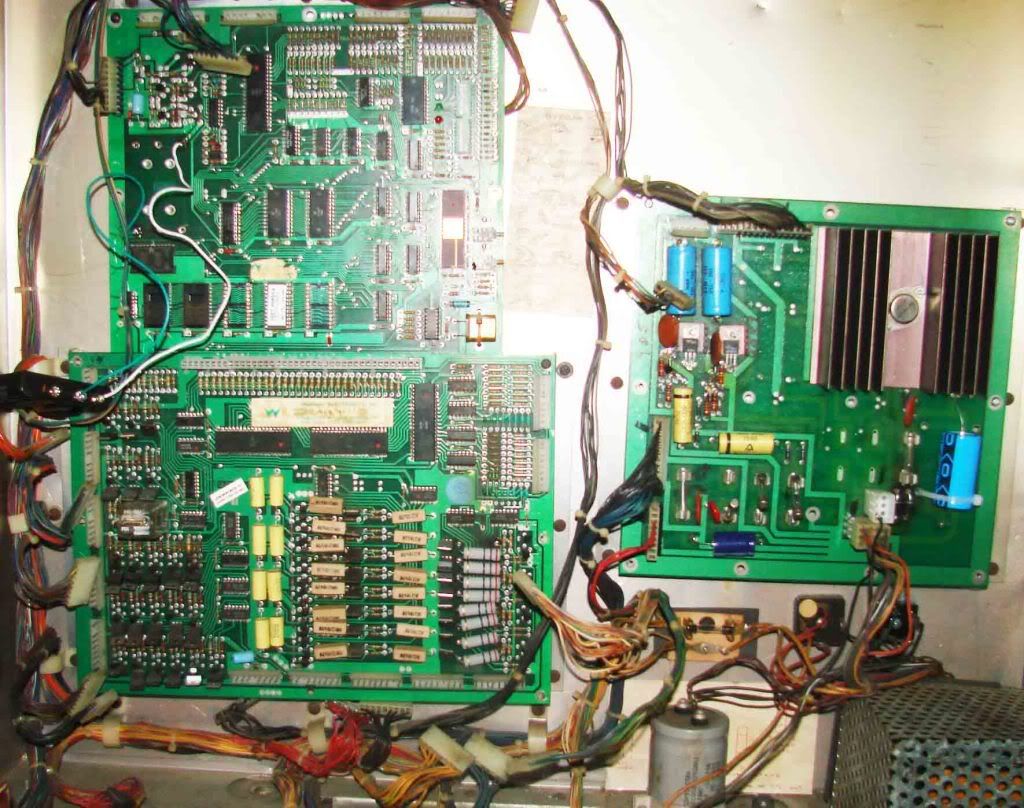
I have a System 4 Flash, although Williams later built Flash using a System 6 hardware set of circuit boards. I only had access to the board diagrams for System 6, which are pretty similar to System 4.

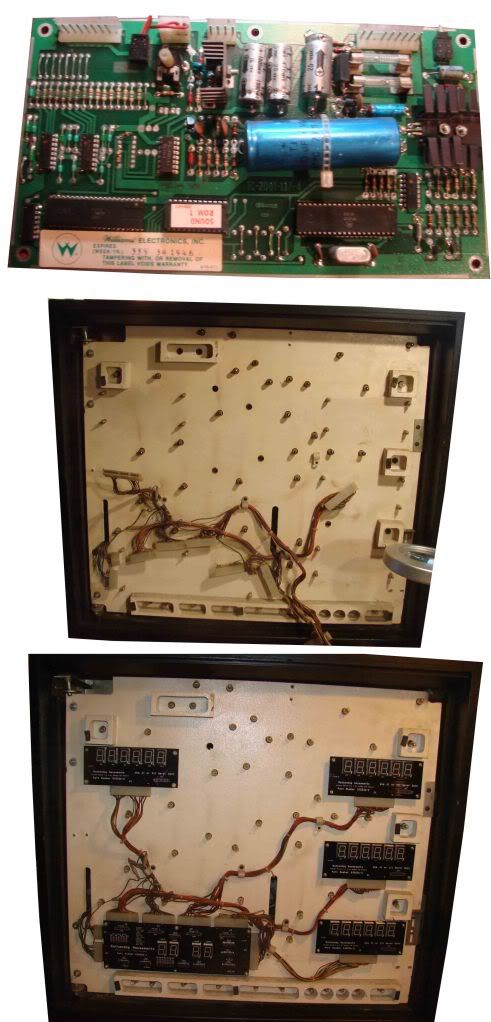
Unfortunately, one of the changes made from System 4 to System 6 (which I was unaware of), was the movement of the CPU chip and the Peripheral Interface Adaptor (PIA) chip, to roughly opposite positions on the MPU board. The are both 40-pin chips, and are not labelled in any clear way to identify their function.

I dutifully followed the detailed instructions for diagnosing problems with the MPU board, using the proper testing chip, etc., for the past week. I diagnosed a problem with the PIA, and therefore tried replacing it.

But when I did, things got worse, not better, and the diagnostic program stopped working altogether. Thinking I had a bad new PIA chip, I bought another and replaced it again, but with the same result.

Of course, the entire time, I was actually trying to put a new PIA chip into the old CPU socket, with less than ideal results, as you might expect. As it turned out, both my CPU and PIA were working fine, I just couldn't tell because I was testing them for the wrong set of signals. I finally figured this out on my own, after a week's time, much consultation with the pinball repair experts on the internet, and countless trips back and forth to my local electronics store. A dumb thing to get caught up on, but I guess to be expected for someone who didn't know a thing about pinball circuitry only four months ago.

Time for a week-long vacation now, so Flash will just have to be patient.

Thursday, August 5, 2010

Troubleshooting


After firing up the completed Flash project for the first time, all of the lights came on, the outhole kicker popped the pinball up into the ball shooter lane...... and that's it. The CPU board isn't booting up for some reason, which doesn't allow the machine to go any further. Please look at the picture above and tell me what the problem is. Otherwise, I'm going to have to troubleshoot this machine myself.

The particular operating system Williams used for Flash, Williams System 4, is notoriously difficult to troubleshoot, especially for CPU boot problems. There is a self-diagnostic program built into System 4, but the CPU needs to boot up first in order for it to be operational, so it's existence is almost like a deliberate and cruel joke. Luckily, some industrious soul has developed a third-party diagnostic testing chip for use in these machines, which I course ordered right away. Now begins the slow and laborious process of ruling things out.

On the plus side, all of the general illumination lighting appears to work fine, both on the playfield, and on the backbox. On the minus side, the brand new LED scoring system isn't lighting up at all. One thing at a time.

Tuesday, August 3, 2010

Putting it Together

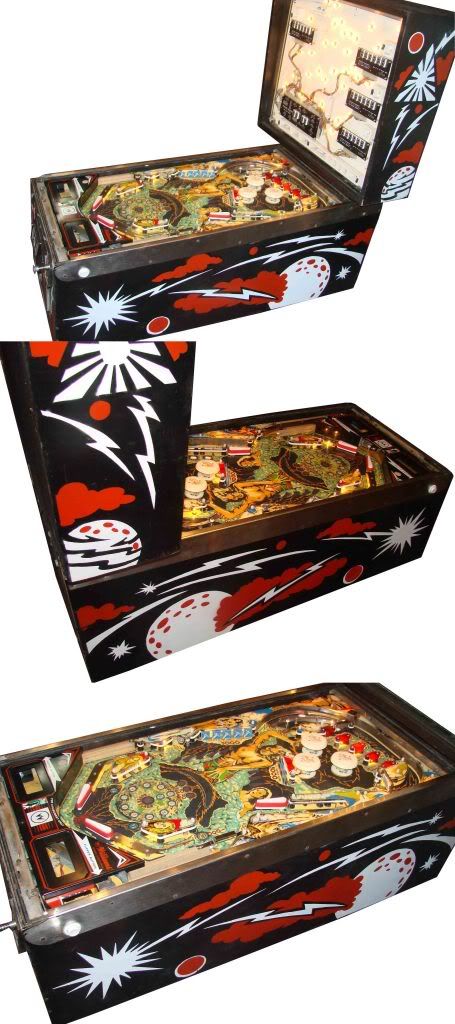
The nerve-wracking moment of truth comes when you first connect everything together, put the playfield into the cabinet, bolt on the backbox, make all of the electrical connections, and plug the thing in. Before sending the juice, it's worth admiring your work from an aesthetic point of view for at least a short moment, before you have all of your hopes and dreams crushed by turning it on and having nothing work properly. So here, a moment of pure reflection.

Repopulating the Playfield

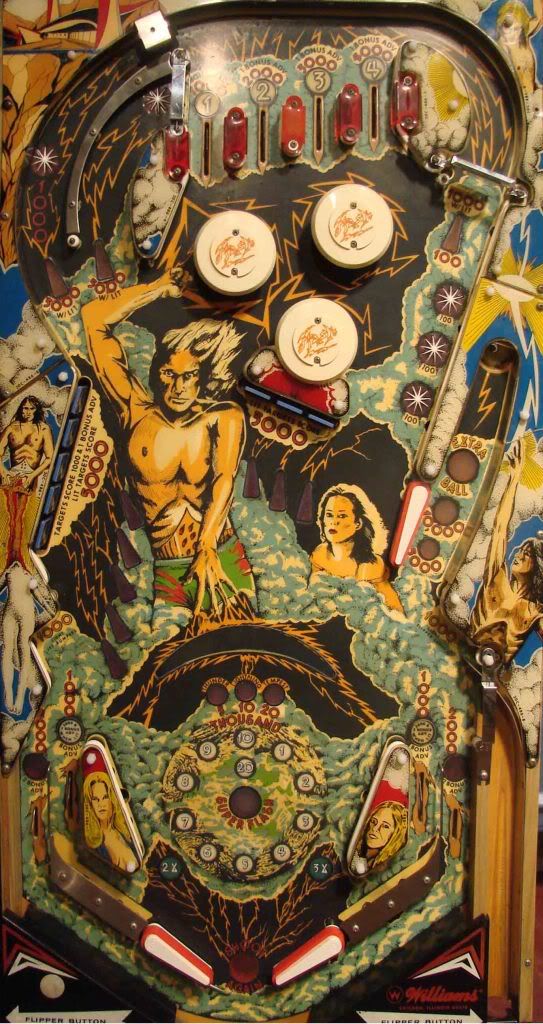
Everything else having been repaired, replaced, or restored, it was time to repopulate the playfield. For this step, I carefully looked at my repair log, consulted my many tear-down photos, and simply reversed the steps to rebuild the playfield with all of the toys intact. This is somewhat slower than tearing the thing apart, but only slightly, since some of the playfield pieces that get installed are new parts that I have ordered from one of the vendors. Most of the time is spent looking for the correct little zip-loc baggie labelled with the exact playfield parts that I need. It's a gratifying process, and means that we're getting close to connecting everything together in its final configuration.

Flattening the Plastics

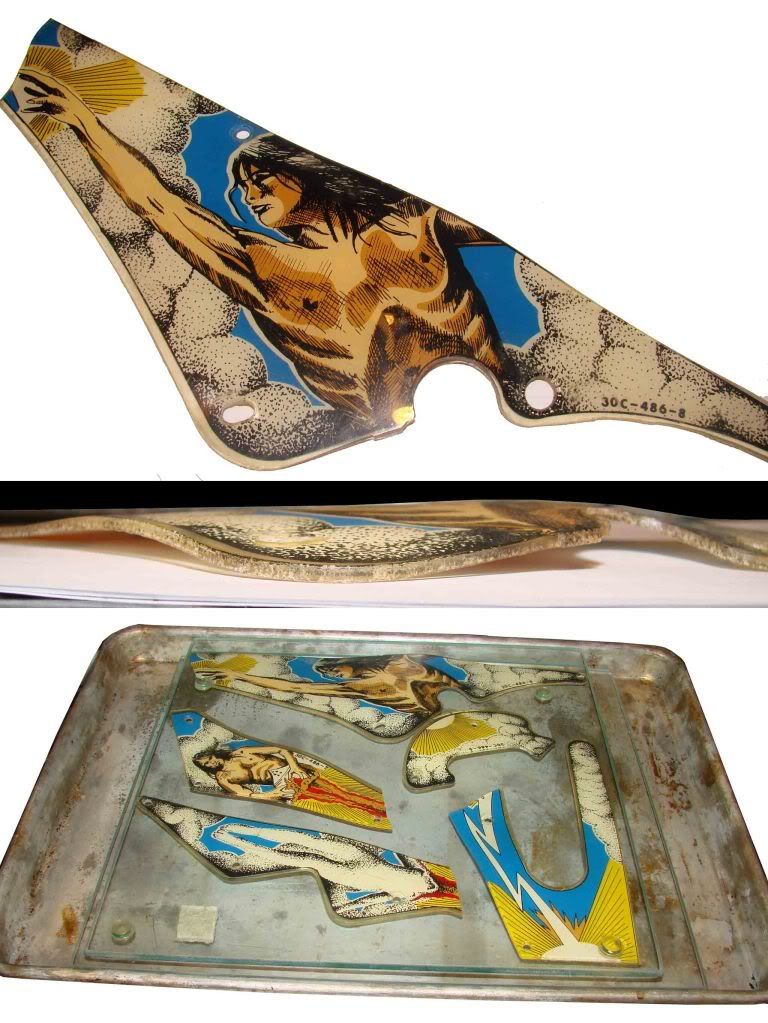
One of the unique problems that I had to face with Flash was the printed plastics that came with the game. These are the flat, plastic artwork pieces that are generally used to mask some of the mechanical devices, and are translucent so that the general illumination lighting will highlight the artwork.

Over time, the high heat of the bulbs originally used in these games tends to melt and slightly warp the plastics. On Flash, virtually all of the plastics were incredibly warped, but all of their artwork was intact, and the plastics were complete. Two of the larger ones had broken in half under the strain of the warping, but no shards were missing.

So the main problem is how to flatten plastics that were otherwise in good condition. Here, my kitchen skills came to the rescue.

I took the plastics and sandwiched them between two perfectly flat pieces of glass (I used panes of glass from a glass shelving unit). Then I put them on a baking sheet, and weighted them down with some heavy stacked pots. I popped them into the oven at 250 degrees, and checked them every three minutes. (You definitely don't want to overbake these.) When they reached just the right temperature, they softened, and the weight of the pots pressed them flat. I immediately removed them from the oven, and let them cool between the glass panes. This restored them back to their original condition, or nearly so. I was able to use super glue to reattach the separated plastics, and reinstalled them on the playfield.

Circuit Board Repair

The most tedious part of the restoration process, in my opinion, is the circuit board repair. You can spend hours and hours replacing sockets and connectors, without being completely sure afterword that what you have done will actually work. I don't trust electricity.

The boards that came with Flash are from a Williams System 4 type game, which contained early circuit boards that orginally came with a boatload of troubles. Before even turning the game on, I replaced the 40-pin connector between the CPU and the driver board, several capacitors, diodes, and varistors on the power supply board, all of the capacitors on the sound board, a bridge rectifier in the backbox, multiple Molex wire connectors, and replaced the missing display units with a brand new, Rottendog LED scoring display system.

After all of this I tested the supplied voltages being generated by the power supply, and they were all right on the money. One big problem down, or avoided altogether. And I only burned myself about 7 times with my new soldering iron.

Mechanicals

Every moving part on the playfield, not just the coils, needed to be completely disassembled, cleaned, adjusted, and rebuilt. This included the drop target assemblies, pop bumpers, slingshots, out-hole kickers, spinners, rollover buttons, rollover switches, targets, and stand-up switches.

In addition to this, every light bulb was replaced underneath every feature light insert, and inside every general illumination location. This was several nights worth of work all by itself, but is one of my favorite parts of the restoration process. It's almost therapeutic, sitting on my stool, tinkering and puttering with little mechanical devices while listening to a recorded program on my laptop. It's a slow process (there aren't many quick ones), but once it's done correctly, you know that most of the mechanics beneath the playfield should just quite simply work, assuming they are getting the correct signals from the circuit boards. Of course, that's another problem altogether.